≡ Menu

Gem Mine

Poppell Farms Mining Company

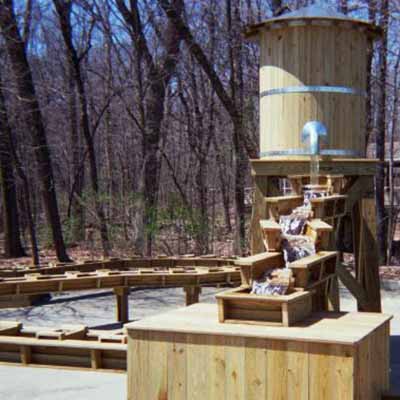
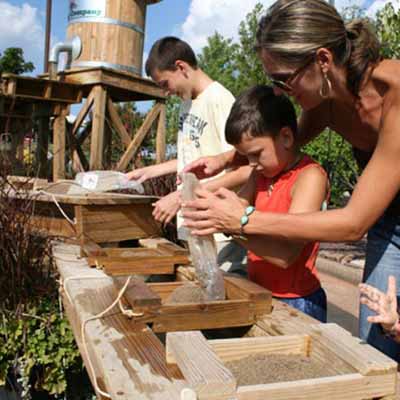
Opening October 2, 2021! Mosey on over to the Gem Mine and become a prospector of old-times in the American Wild West! Purchase your very own bag of mining rough and sift it through a screened tray in our authentic, old-style water sluice.

In addition to the treasure, each bag of rough includes a take home collection bag and an educational ID postcard. Prices and content of mining rough bags vary.

Go to Farm Fun to see LOTS of other things to do at Poppell Farms!

Teachers! We miss you!

Teachers! We miss you!

We really miss our Fall visitors to the farm — especially teachers and students who make Poppell Farms a destination every year for pumpkins, learning and fun! We look forward to more normal times very soon … and welcoming you back to Poppell Farms in Odum, Georgia.

We would like for you to enjoy a Virtual Field Trip as our special guests this year! Teachers and students can watch this video about pumpkins and how they are grown. And we have a little Munchkin Pumpkin hand-out about pumpkins (including a maze game!) for you to download. (Download Now!)

Chops ‘n Jam

Chops ‘n Jam

Have you noticed in fancy restaurants that the servers have memorized a whole entree recipe to recite for you at table side? With all of the ingredients? It makes me giggle and sometimes throws them off their game!

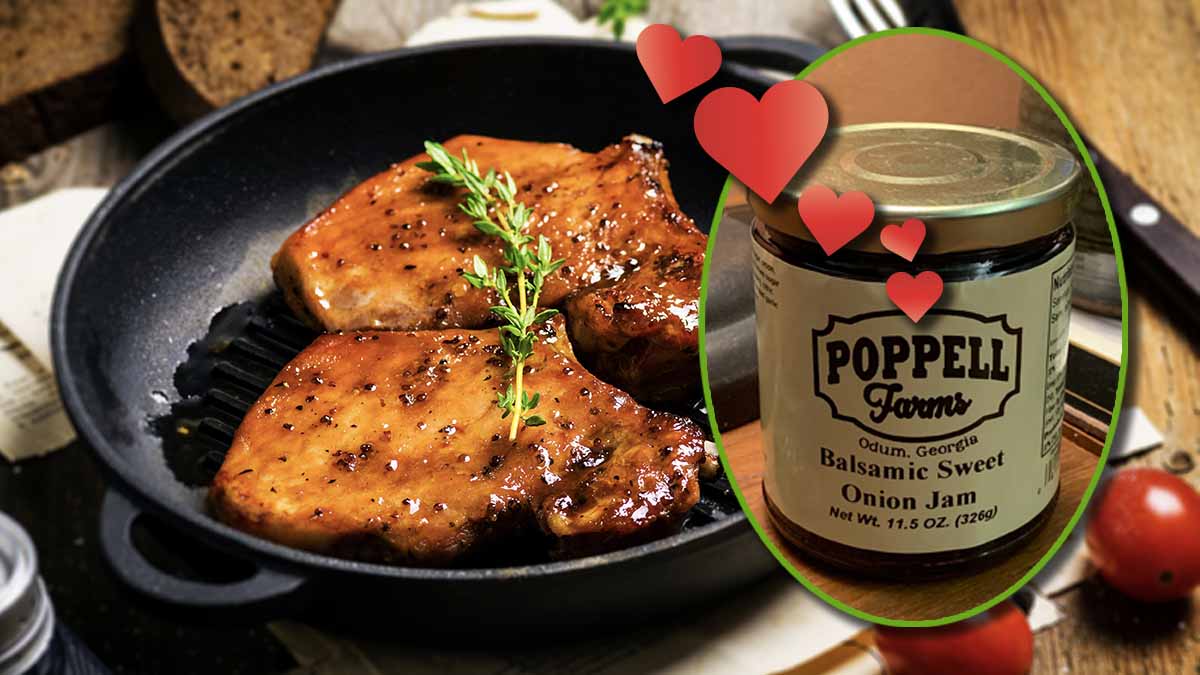
Well, that said — I want to tell you about a dish that I created after getting a jar of Poppell Farms’ Balsamic Sweet Onion Jam from their summer market! My mouth is watering already! Here goes:

Put a scant little puddle of olive oil in an iron skillet to heat (medium hot). Thinly slice one shallot (not scallions and not onions) and put it in the oil puddle. When the shallot is fragrant and starts to color, add a generous spoon of minced garlic. For this recipe, I like the stuff that comes in a jar with olive oil. On top of all this, add pork chops — or little medallions of pork loin sliced about one-inch thick. Brown the chops for about 3 minutes on one side and flip. While you are browning them on the other side (3+ minutes), add a spoon of jam to the top of each chop.

I like to carefully remove the chops (and the just-dandy-juices) to a generous piece of aluminum foil and cover for about 10 minutes to let them “finish”. When you open to serve, the chops are so juicy/tender and the jam has blended with shallots and garlic. Dare we call it a “reduction”?  Mmmmm, good!

Delightful served with a baked yam and a chunk of sourdough bread!

By Lucy Fagan, Contributing Author

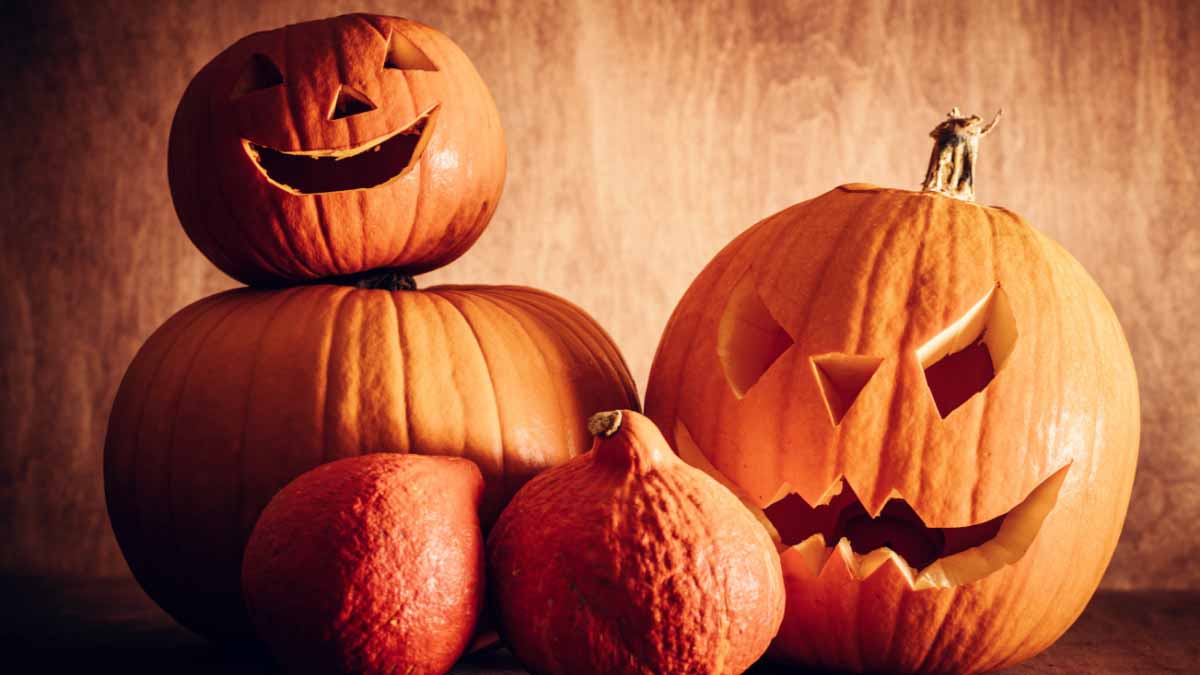
Pumpkin Carving

Halloween will be here before we know it! Time to deck the house out with spooky fake spider webs, pick out costumes and CARVE THOSE PUMPKINS! Here are a few tips for an aMAZEing pumpkin carving experience. 

The right pumpkin
The right pumpkin has a flat bottom so that it doesn’t wobble all over the place. Select a fresh pumpkin with a solid stem and no bruising. 

Cut at an angle
Have you ever cut the top off your pumpkin only to have to drop into the goopy mess inside? Avoid this nonsense by cutting your pumpkin lid off at an angle.

The right tools
One of the best tools for cutting the lid off a pumpkin is a keyhole saw. The sharp teeth on this saw can easily slice through a pumpkin’s thick shell, and the flexible blade is awesome for making curved cuts. Other useful carving tools include hole cutters, wood gauges and a power drill.

Keep it fresh
Nothing stinks more than working hard on an awesome Jack O’Lantern only to have it rot away in a few days time. Spread petroleum jelly on the cut edges to keep your pumpkin fresh through to Halloween. If it shrivels up, you can freshen it up by soaking it in cold water for up to 8 hours. 

Visit us on Pinterest for fun pumpkin carving ideas!

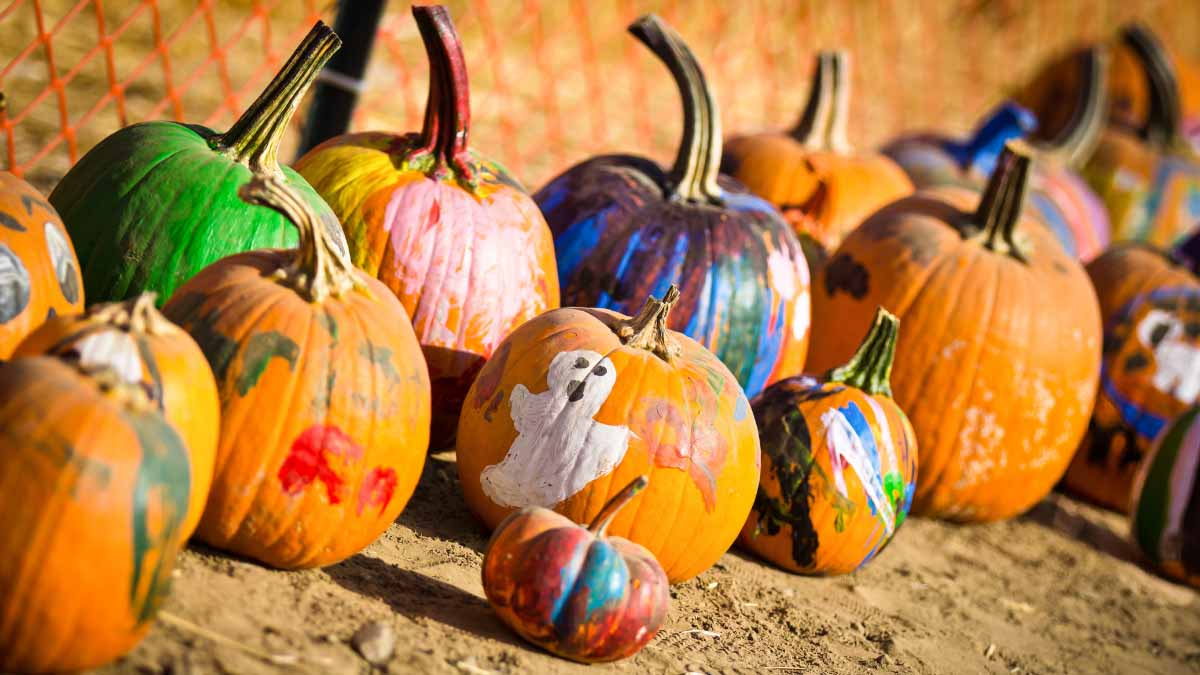
Pumpkin Painting

Painting pumpkins instead of carving them has several perks. Painted pumpkins last longer than carved ones. You don’t have to worry about your little ones and sharp objects. Plus, you can be as artsy as you want to be with glitter, stickers, or whatever else your creative heart desires!

Picking a Pumpkin
The perfect painting pumpkin has a smooth, even surface. Be sure to choose one without bruises, scratches, and lumps. Unless lumpy is the look you’re going for. A bumpy pumpkin could make for a great goblin! Great painting pumpkin varieties include Baby Pam, Sugar Pie, Lumina, or Cotton Candy. 

Clean Your Pumpkin Up
Dirt and paint don’t mix. Use a damp rag or paper towel to gently get rid of any dirt and grime from your pumpkin. Avoid using items like rough scrubbing pads as this can damage your pumpkin. Use a soft cloth to thoroughly dry your pumpkin and keep the stem area dry. A wet stem can cause pumpkin rot.

Tools
Acrylic paint is a great option for painting pumpkins as it dries quickly and allows you to paint over the first layer in a short time period. Go-to painting tools include cheap paint brushes, cotton swabs, sponges, and cotton balls. A damp cloth works great for wiping away any mistakes. 

Go nuts!
Make your pumpkin shine with fun embellishments like glitter, sequins, pom poms, or rhinestones. Add googly eyes to create faces! Incorporate glow-in-the-dark paint to make your pumpkin stand out at night!

Visit us on Pinterest for fun design ideas!

Recipes

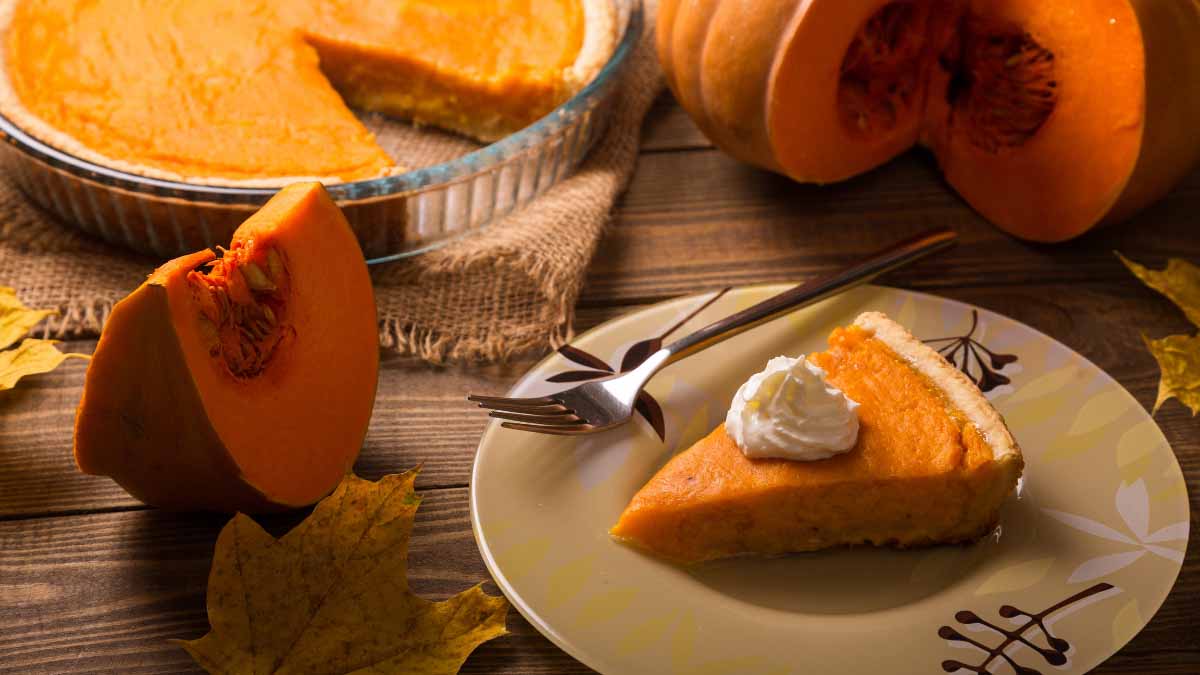
It’s the time of the year for everything PUMPKIN! Pumpkin pies, pumpkin soups, pumpkin EVERYTHING! Here are some great pumpkin varieties perfect for cooking up those cool-weather comfort foods!

Varieties
We’re going to bypass carving pumpkins (think Jack-O-Lanterns) all together as they are no good for cookery. The meat is stringy and the flavor leaves a lot to be desired. Instead, choose varieties that are sweet, super flavorful, and have a smoother flesh. You’ll want to find varieties that are labeled as ‘sugar pumpkins’ or ‘pie pumpkins’. These varieties include Baby Pam, Autumn Gold, Lumina (these are white pumpkins), Cinderella, and Ghost Rider.

Pumpkin Size
The best cooking pumpkins should be between 4-8 pounds. Pass on pumpkins that have any bruising as this can be a sign of rot.

Storage
Keep your pumpkins fresh by placing them in a cool temperature. When stored properly, pumpkins can last up to 90 days. Pumpkin purée freezes very well for future pies, muffins, and more.

Visit our blog for more fun pumpkin tips!

Repurposing Pumpkins

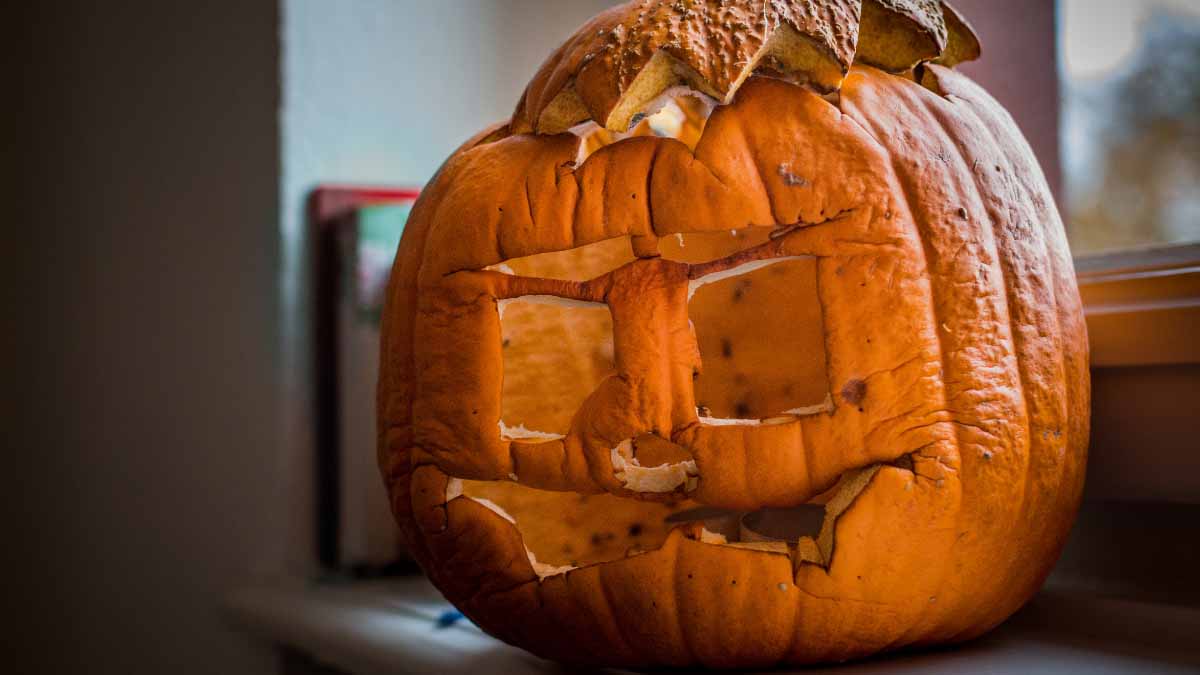
Halloween is over and it’s time to put that slumped over Jack-O-Lantern to better use. Here are some great ways to reuse your holiday pumpkins! 

Awesome Compost
Turn your decaying Jack-O-Lanterns into plant-loving compost for the garden. Remove all candles or battery-operated tea lights along with any other decorations attached to the pumpkin (ribbons, googly eyes, etc.). Pumpkins that have been painted, coated in sealant, or covered in glitter cannot be composted. Be sure to remove all the pumpkin seeds as well. Failure to do so could result in your very own pumpkin patch! 

Fall Feeder
Hollow out one side of your leftover pumpkin and fill with bird seed. If you have a bunch of baby pumpkins, you can tie a bit of cord at the top and hang the small feeders from trees in your yard. Your winged-friends will adore them!

Critter Treats
All kinds of animals, including squirrels and birds,  would be very happy to munch on leftover pumpkins. Pumpkins are an excellent source of source of vitamin E, iron, magnesium, potassium, zinc and essential fatty acids. 

Visit our blog for more fun pumpkin tips!